


As I have probably mentioned before, boat building is a rather time consuming task. I try to keep up with this blog, but by the time I've posted on the Junk Rig Association, website, I've usually run out of time to write on this blog. I am hoping to do better this year, but as I probably won't, if you want to see the latest photos, I suggest you go here and look at my photo albums.
By the way, my apologies for the big gaps in the layout. I saw them in the Preview and tried to correct them, but without success. This is what comes of using free blog sites!

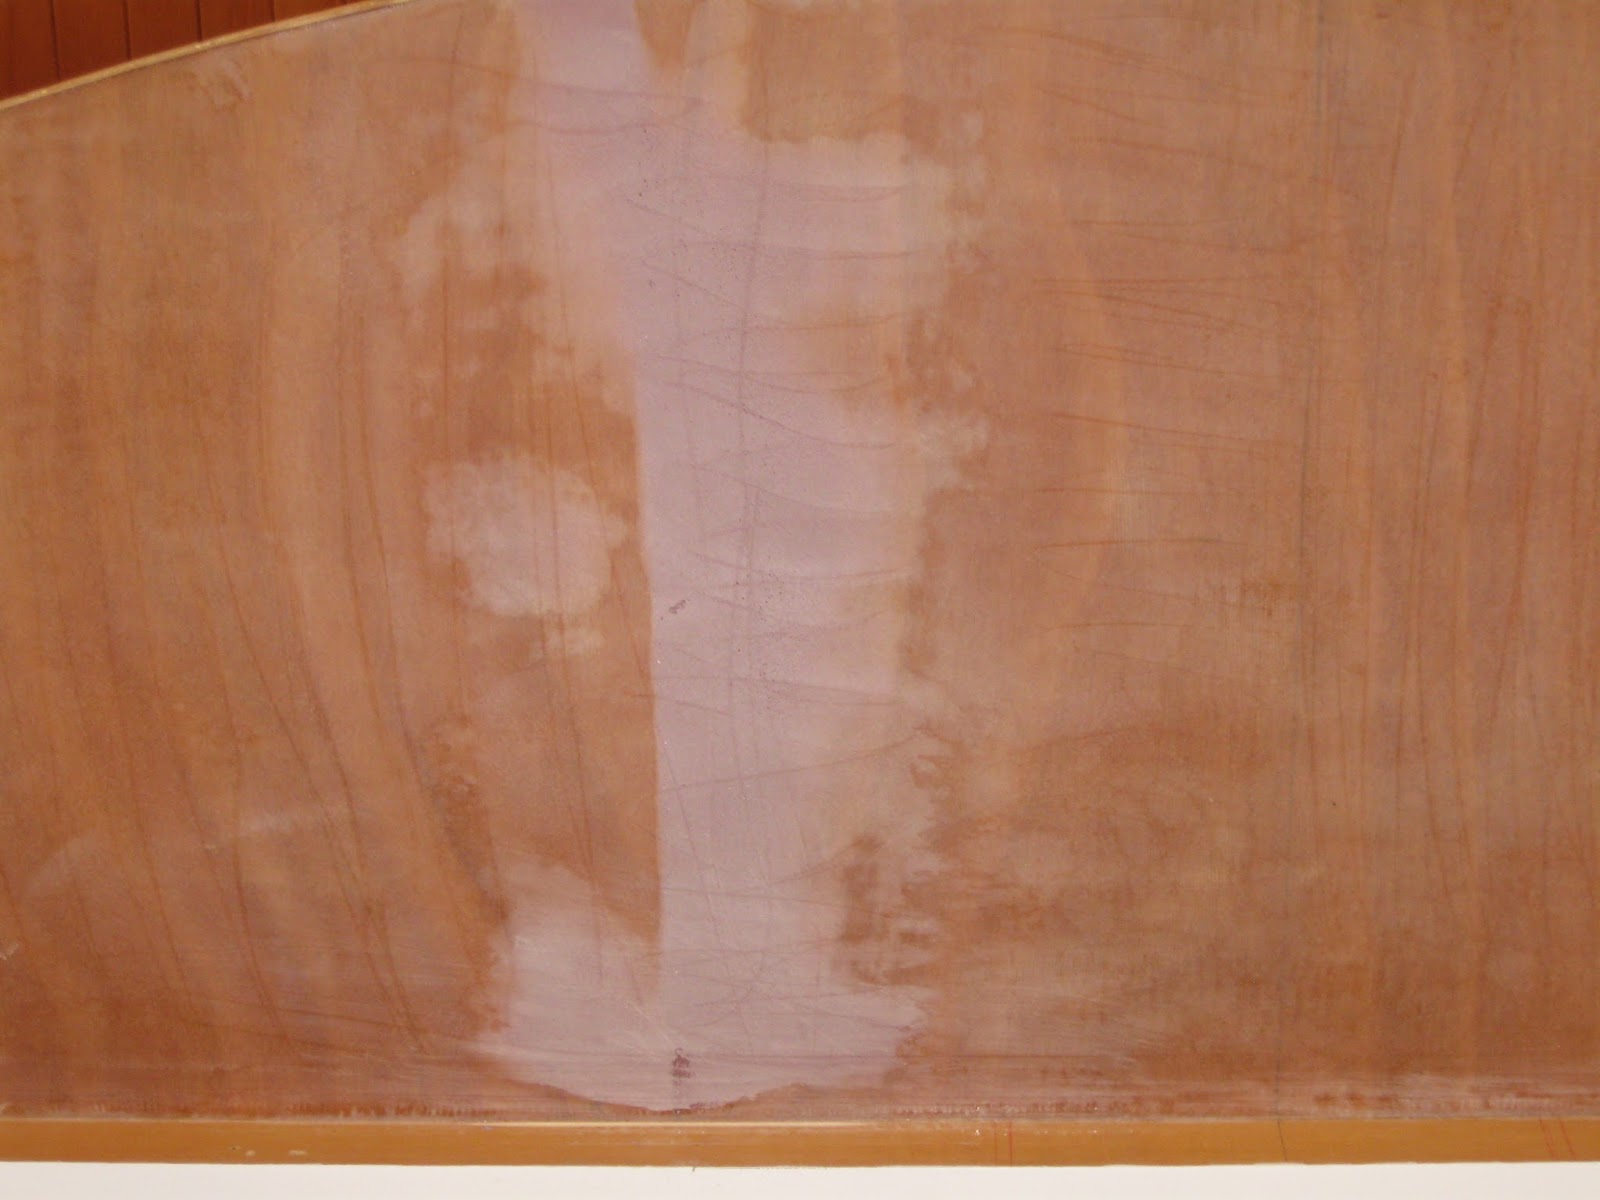
Looking towards the saloon while sitting on the stern.

A view down the centreline

Where the bow met the bottom of the boat was very messy, as a result of the difficulties of bending the plywood, etc. I flooded where everything met with epoxy, thickened with high-density filler put fillets along the stringers and sanded it all.

To make it easier to keep the boat clean, I'm filleting all the top surfaces of stringers. I'm also fairing the scarphs and filleting the plywood floors. Where the chine log meets the hull, there is a triangle especially designed to trap dirt. This area is also being filled with thickened epoxy, which has the additional advantage of increasing the gluing area.

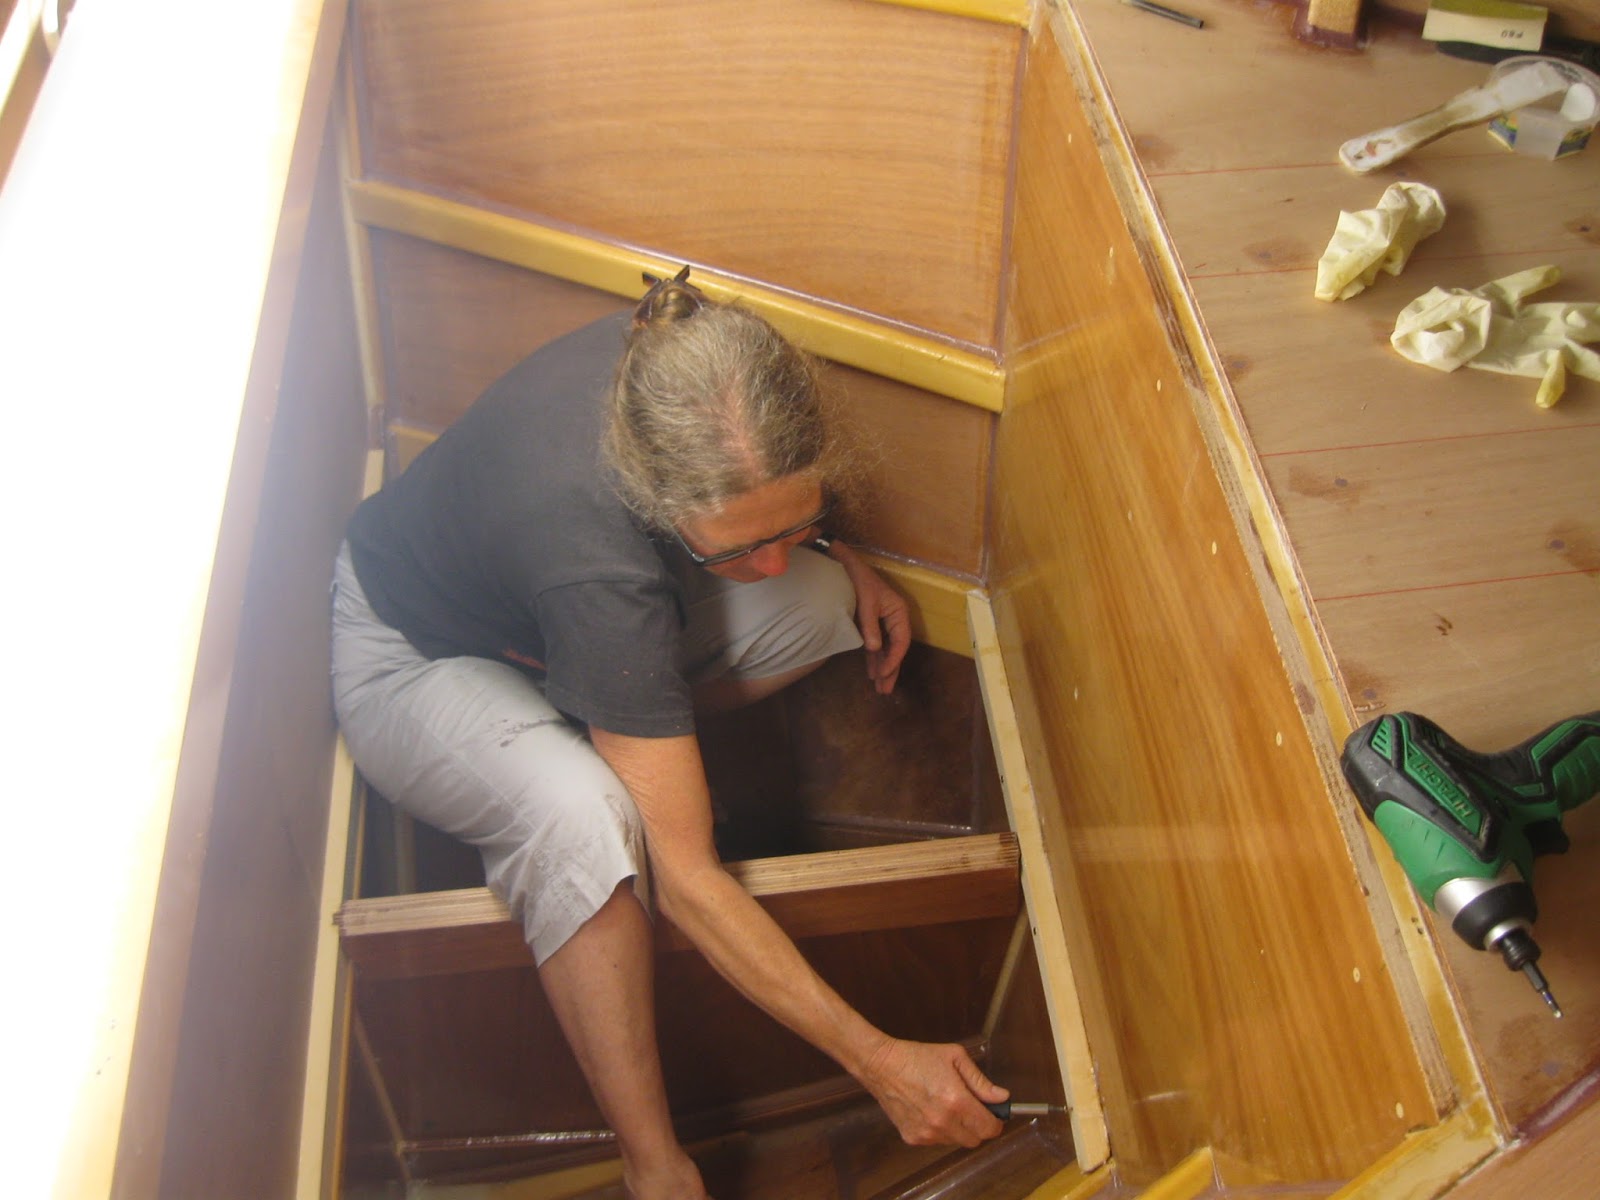
Forward of the bulkhead and under the anchor locker will be sealed off. I filled chips, and screw holes, filletted and put 3 more coats of resin on everything.It was quite a struggle to get right into the bottom of the most forward part of the boat, but I'm satisfied that everything is well coated. Whether or not to put in access hatches was my big debate. Some say that the space will be fine; others that the tiniest crack could let in moisture and then the whole bow will rot away and that okoume/gaboon is not a durable species of wood. I decided not to fit the hatches: I can always do it at a later date.


Once I turned the boat over, I got busy filleting and coating all the places that were hard to get to when it was the right way up.


Standing in the sleeping cabin

After due consideration, I decided to fair the keel, not so much for smooth water flow as to prevent there being any crevices for barnacles and the like to get a 'toe hold'.

The plan was to put Coppercoat over the entire bilge panel up to the chine. The chine makes a natural place to paint to and while the final appearance will be unusual, I don't think this boat follows the norm that closely anyway. Because the chine runs out at the bow, I epoxied some string in place to mark the 'waterline'. (In fact well above it.)

I've bought two splendid bow rollers. Because of the shapes of my Manson Supreme anchor, and the junk bow, they need to be fitted on their own little 'bowsprits'.

With my saligna came some unidentified (and very attractive) gum. Lighter in weight than the saligna it's perfect for this job.

My unidentified gum was originally 'decking', as they call it here, ie to put on a verandah, porch or balcony. Thicknessed to 15mm and with the tongues and grooves trimmed off it could be laminated into a substantial support for the bow rollers.

Preparing the bow for the foredeck. Two lengths of hardwood will go from the bulkhead to the bow to carry the anchor rollers. Framing has been put along the plywood running fore and aft.

The bulwarks will interfere with a fair lead to deck cleats, so I instead. I have chosen to fit mooring posts, as with traditional junks. The bow roller timbers are behind the pilularis I sawed up for these posts.

Getting to be a real pro boatbuilder: using an angle grinder to shape the end of the Samson post. Well, as they are quite dainty, maybe Delilah post would be a better name!

The first Delilah post being shaped and the blank for the second one behind it.

After fitting the port post, I put a
wedge-shaped piece between it and the bulwark. Not only does it make
the post stronger, but the post now acts as a knee for the bulwark.

I'd been procrastinating on applying the Coppercoat as I'd been told it was heavy work, but once I'd got the job done, it meant that I could prop up the hull and remove the framework aft, that is supporting it. (A job I still haven't done!). All 5 coats have to be applied in one day. This was obviously an impossibility on my own, so I divided the job into bow, bottom and keel; starboard bilge panel; port bilge panel. Then I divided the allotted quantities of resin, hardener and copper into containers, ready to mix.

The keel and bottom panel, which includes the bow, worked out at around 4 sq m - and as this should take one litre to cover, I divided the Coppercoat into five equal portions as in the previous photo. The first coat was very patchy and I suspect I was putting it on a bit too thinly.

I decided to take the copper right up the bow to bow roller level. I think it looks great. Maybe I'll burnish it to a high gloss!

The following morning, the overall effect was satisfactory, although the finish is a bit patchy due to the uneven spread of copper on each roller stroke. But you can no longer see where the wood joins the steel.

The next step was the starboard bilge panel: 2 litres. I thought I'd easily knock it over in a day, but it took until 2130! Fortunately, the work wasn't as heavy as I'd anticipated, but I was still pretty tired by the time I'd finished. The first coat, again, didn't cover so well.

But the final result looks a lot better and the patchwork of plywood at the bow is thankfully, finally covered up.

Those with a critical eye will notice a 'hard point' abaft the bilgeboard case, which shows now that the bilge panel is all one colour. The good news is that it won't often be seen. I took the Coppercoat up about 30cm into the cases.

The 'bowsprits', it has to be said, do look a little strange from underneath. I hope they'll look better with the bow rollers fitted.

I added extra framing along the centreline and worked out what had to be done before I could actually put plywood on the foredeck.

Another 12-hour day saw the Coppercoat finished. It's a bit patchy and has to be sanded with fine paper to burnish it. If the burnishing doesn't improve it, it won't be noticed once it's turned green.

Making a pattern for the foredeck plywood. The easiest way to fit it was in two pieces, joining at the bulkhead.

December 1st. Working late in the day, gluing in the Delilah posts.

Delilah post in place. I was rather pleased at how squarely I'd drilled for the stainless steel rod.

Both posts glued into place. A couple of nice, big screws back up the glue.

I put fillets around the posts.

Coating the 'bowsprits'.

I
made a 'cast' of epoxy before gluing down the 'bowsprits'. Firstly, I lined out the space to catch drips. I know, I know - nobody's going to see ...

All set up for gluing. You can see where I 'cast' epoxy right at the bow to ensure a good joint.

The 'bowsprits' glued into place. Excess glue was used to fill the screwholes left over from when I'd laminated them up.

I was especially careful about gluing down the foredeck plywood, because there would be no way of checking the glue job after the event. With the space underneath being inaccessible, I needed to feel confident that there wouldn't be the slightest void. Unsure that all the framing was perfectly level, I covered the back of the plywood with tape, put down a good layer of epoxy thickened with hi-density filler and made a plinth for the deck to land on. When the epoxy had cured, I lifted off the plywood and had a perfectly flat and fair surface to which to glue.

I bought a couple of bronze fittings from
my friend, Gary, for the foredeck and made a pilularis bar to go between
them. This will be the cleat I use when I pick up the occasional mooring. Yes, it's big, but then, generally,
so is the rope on most moorings. Cleats are one of these things that I don't think are necessarily in proportion to a boat's LOA.

Ready to glue on the foredeck.

The foredeck down, with the space below a
void. Some day I may cut out an inspection hatch in the
bulkhead to check there is no moisture ingress.

The base of the anchor locker has to land on the 'spine' and the sheer clamp. The former was too low, so I made a U-shaped fitting out of plywood to go on top, making it higher and thicker. This gives better support to the floor of the anchor locker, which will often have to bear the weight of 30m 8mm chain a lot of nylon multiplait - and me.

The framing along the after bulkhead was also too low, so I added some more cedar to raise it to the correct height.

A further frame was required across the forward bulkhead.

There was a bit of juggling required, because the longitudinal had to go in before the forward frame. I tend to do these things the in the wrong order, but fitting the wood had shown me what was needed.
Then the excess glue was cleaned up and the screws given an extra half turn to ensure a close fit.

The next stage was to make a pattern for the floor of the anchor locker, using strips of plywood and a hot glue gun.

It fitted amazingly well for me - I'm not that clever at getting things to fit and would be completely unable to construct a boat without epoxy - and I reckon can double up as an extra cabin!

I coated and glassed the floor, then glued it in and filleted. I was sure I'd taken photos of the glassing, but obviously didn't. I put on two layers, because it will often be wet and will be chafed by grit and stones that come in with the anchor cable.

I scavenged an old teak boarding platform and up the wood from it to use as a divider in the anchor locker. Two old pieces in the foreground.

The grating will be removable to make cleaning and repainting easier and to enable me to fit access hatches if necessary. First I drew it out full size.

I've been given some treated kahikatea, which is a very light wood and am using this for framing. Up until now, I've been using Alaskan Yellow Cedar, which is very durable. Kahikatea is lovely to work with, but not at all durable. However having been treated and well-coated with epoxy, I shouldn't have any problems with it.

The runners ready for coating with epoxy.

In the meantime I got hold of a heap of quarter sawn teak decking for $640. Teak decks are great non-slip and require hardly any maintenance besides looking beautiful. They were one of the things I loved most about Badger and although David Tyler, who designed SibLim, will have hysterics about it, (the weight!) I am so happy to be able to have teak decks again.

Before painting out the anchor locker, drainage holes were made, which are to be coated with many layers of epoxy with graphite powder to protect it from the sun.

The assembled grating being fitted: the
runners are temporarily held in place with heat gun glue.

Once the initial grating was assembled, I fitted end pieces and another piece along the middle. Easier said than done: the old wood was a bit distorted and didn't take to the idea of parallel. I ended up having to simply fill gaps with epoxy.
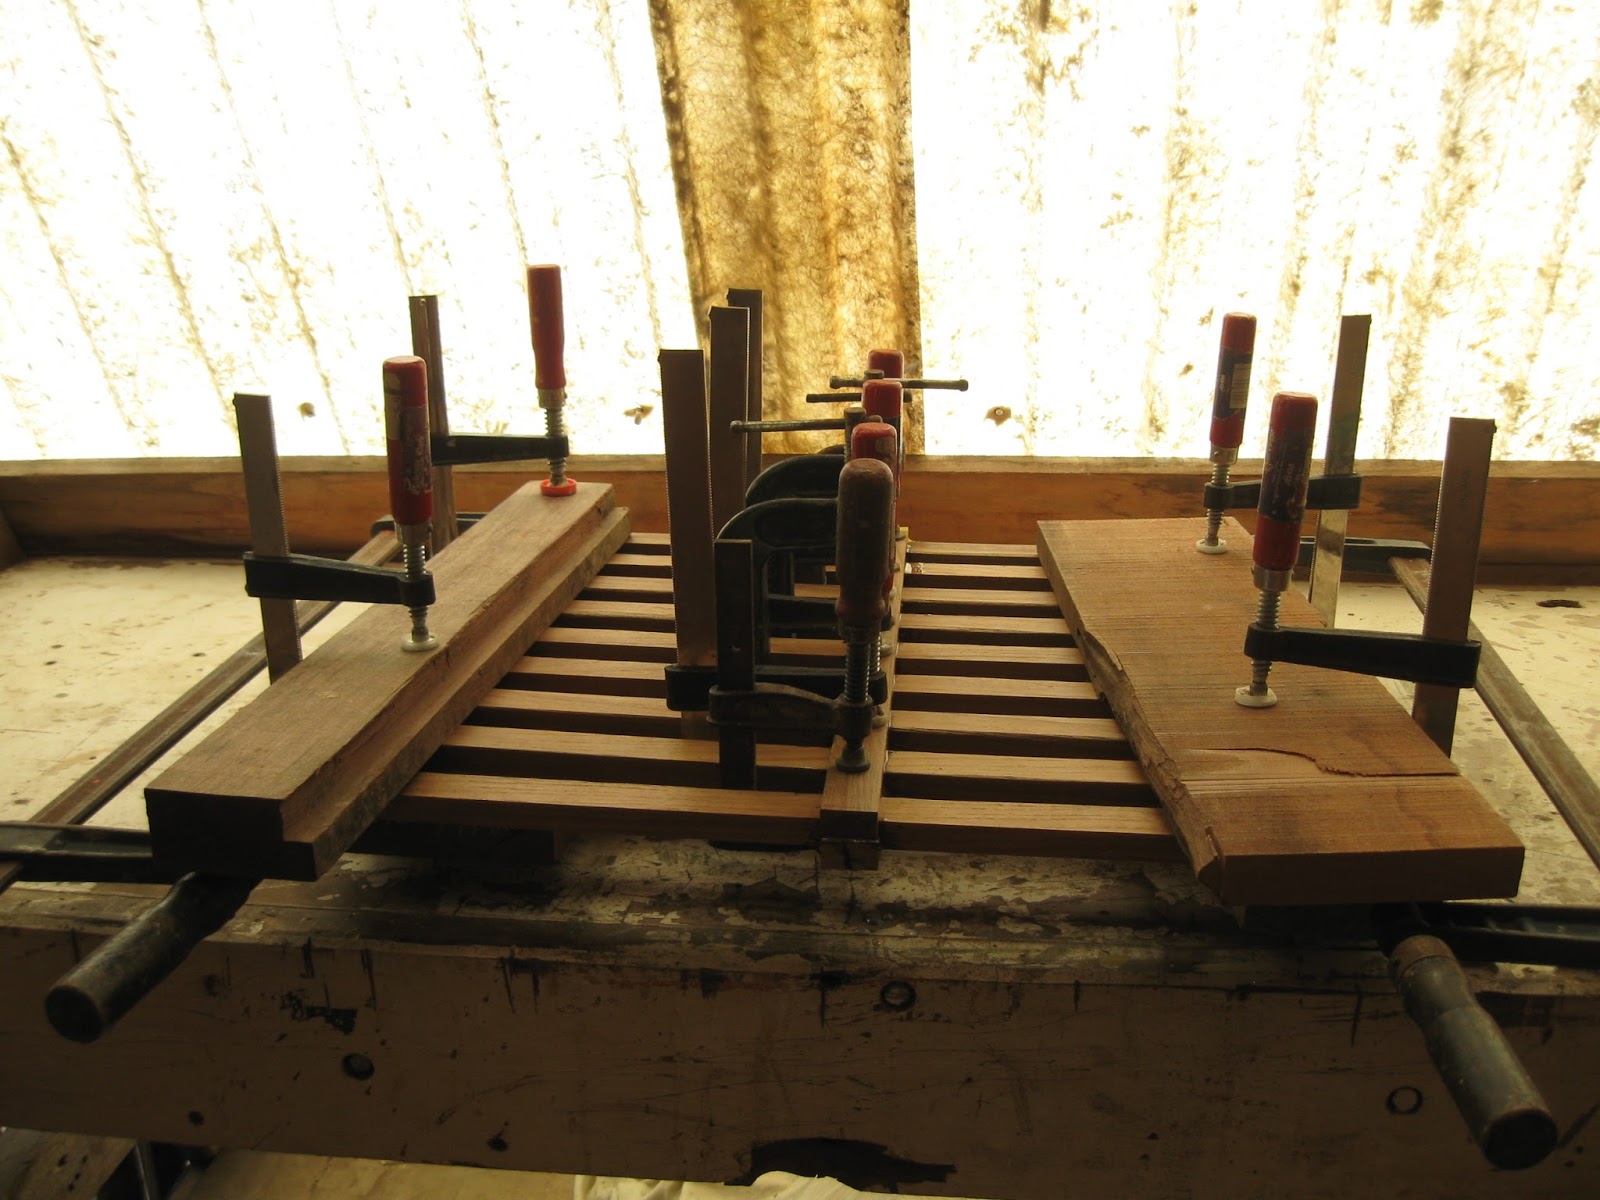
Gluing up the grating. I sandwiched the ends between hefty pieces of wood in an effort to force it straight.

The runners glued in.

3rd January 2017 Happy New Year! I'm trying to make the boat low-maintenance, but have been dithering about what paint to use. I was assured that Hempels Bilge and Locker paint would cover well and be durable, so I decided to use this. I remember bilge paint as being the sort of stuff that would cover everything with just one coat. However, either my memory has let me down or this is no longer the case.


So I went out and bought some two-pack polyurethane varnish for the runners

and the grating. It went on beautifully

and looks pretty smart, in place. They eyebolt is for the bitter end of the anchor cable.

The following day, I put on two layers of glass cloth, one after the other.

With the locker finished, it can now be decked over and fitted with lids. The central 'plank' will be removable, held in place with machine screws, so that the grating can be pulled out and the locker cleaned, painted, etc.


I couldn't resist laying a bit of it out to see what it will look like. Pretty good, I reckon!
4 comments:
Damn - that's impressive! And looking good too. Well done from both of us.
Hi.
Nice design. Good job. Is it possible to buy a set of plans?
Vlad, if you leave your email address I can forward it to the designer, David Tyler. Alternatively, you can get in touch with him directly if you join the Junk Rig Association. If you were to build the boat, you would probably want to join the JRA anyway, because you will be going there constantly for information about the rig.
Green with envy. What a beautiful job.
Post a Comment